
17 01
2024
When it comes to maintaining a fully functional and efficient kitchen, addressing plumbing issues promptly is crucial. In this comprehensive guide, we’ll delve into the world of kitchen plumbing repairs, providing you with valuable insights and a step-by-step DIY approach. Whether you’re a seasoned DIY enthusiast or just starting to explore the world of home repairs, understanding the basics of kitchen plumbing repairs can save you time and money in the long run.
To kick things off, let’s explore the realm of plumbing repairs and understand what issues a plumber typically addresses. Professional plumbers are skilled in fixing a wide range of problems related to kitchen plumbing. From leaky faucets and clogged drains to malfunctioning garbage disposals and burst pipes, these experts have the knowledge and tools to tackle various issues.
DIY enthusiasts often find themselves wondering if they can take on these challenges without professional help. The good news is that many kitchen plumbing repairs can indeed be handled on a do-it-yourself basis, provided you have the right information and tools at your disposal.
The duration of a kitchen plumbing repair job can vary based on the complexity of the issue. Minor repairs, such as fixing a leaky faucet or unclogging a drain, can often be completed within a few hours. On the other hand, more intricate problems, like repairing a burst pipe, may take longer, potentially spanning over a day.
It’s important to note that the time required for repairs can also depend on your level of experience with plumbing tasks. As you gain confidence and familiarity with the tools, you’ll likely find that you can complete certain repairs more efficiently.
Understanding why kitchen plumbing is necessary is essential for every homeowner. Plumbing systems, especially in high-traffic areas like the kitchen, undergo constant wear and tear. Over time, factors such as corrosion, mineral buildup, and aging can contribute to issues that compromise the functionality of your plumbing.
Regular maintenance and timely repairs are crucial to preventing small problems from escalating into major headaches. Neglecting a minor leak or a slow-draining sink can lead to more significant issues, potentially causing water damage to your kitchen and affecting surrounding structures.
Before delving into the specifics of kitchen plumbing, it’s helpful to have a basic understanding of plumbing principles. Plumbing involves a network of pipes, fixtures, and appliances designed to distribute clean water, remove waste, and facilitate various functions in your home.
Knowing the location of your shut-off valves, understanding the basics of pipe materials, and familiarizing yourself with common plumbing tools are valuable pieces of knowledge that can empower you to take on DIY repairs confidently. In the upcoming sections, we’ll explore these aspects in more detail, equipping you with the information you need to become a kitchen plumbing DIY expert. To get more information about kitchen plumbing services, check this out https://froggyfix.com/kitchen-plumbing-woes-quick-diy-fixes-and-when-to-call-a-pro/.
Now that we’ve established the importance of timely kitchen plumbing services, let’s delve into some of the most common issues homeowners encounter. Recognizing these problems early on can help you address them proactively, preventing potential damage to your kitchen and saving you from costly repairs down the line.
Leaky faucets are not only annoying but can also lead to water waste and increased utility bills. Most often, a leaking faucet is caused by a worn-out washer or O-ring. In the upcoming sections, we’ll guide you through the process of disassembling a faucet, identifying the faulty components, and replacing them to put an end to that persistent drip.
A clogged drain can bring your kitchen activities to a standstill. Whether it’s due to food debris, grease buildup, or foreign objects, a clogged drain requires immediate attention. We’ll share effective DIY methods, such as using a plunger or a homemade drain cleaner, to clear blockages and restore proper drainage.
The garbage disposal is a convenient appliance, but it can face issues like jamming or inefficient grinding. Understanding the anatomy of your garbage disposal and knowing how to troubleshoot common problems will empower you to keep this kitchen workhorse in optimal condition.
Dealing with a burst or leaking pipe can be a more challenging task. However, with the right knowledge and a systematic approach, you can minimize the damage and address the issue promptly. We’ll guide you through the steps to identify the source of the leak, temporarily patch it, and arrange for a more permanent solution.
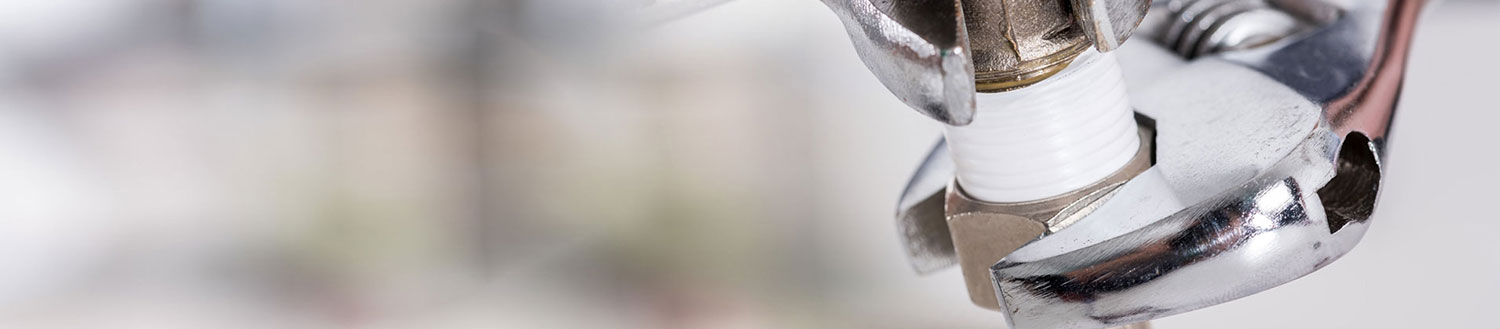
Before starting any DIY repair, it’s essential to have the right tools at hand. For a leaky faucet repair, you’ll typically need an adjustable wrench, screwdrivers, and replacement washers or O-rings.
Locate the shut-off valves under the sink and turn off the water supply. This step prevents any water leakage during the repair process.
Carefully disassemble the faucet, keeping track of the order of removal. Take note of the parts and their placement to ensure correct reassembly.
Inspect and Replace Worn Components:
Examine the removed parts, paying close attention to the washer and O-ring. If you notice signs of wear or damage, replace these components with new ones.
Put the faucet back together in the reverse order of disassembly. Ensure all components are snug but not over-tightened.
Once the faucet is reassembled, turn the water supply back on and check for leaks. If done correctly, your faucet should now be drip-free.
In this installment of “The Ultimate Guide to Kitchen Plumbing Repairs: A DIY Approach,” we’ve explored the importance of understanding common plumbing issues and the necessity of timely repairs. Armed with insights into the tasks typically handled by plumbers and an overview of the DIY repair process, you’re well on your way to becoming a kitchen plumbing expert.


